

P3 V3 OBD2 Vent Gauge — VW MK6 Jetta / GLI / TDI


Interior · Gauges
View Cart
P3 V3 OBD2 Vent Gauge — MK6 Jetta / GLI / TDI
$399.00 USD
Option
Free US shipping on orders over $100
Installs in the driver-side vent — airflow retained
Built to order · typical install 15–30 minutes
About This Part
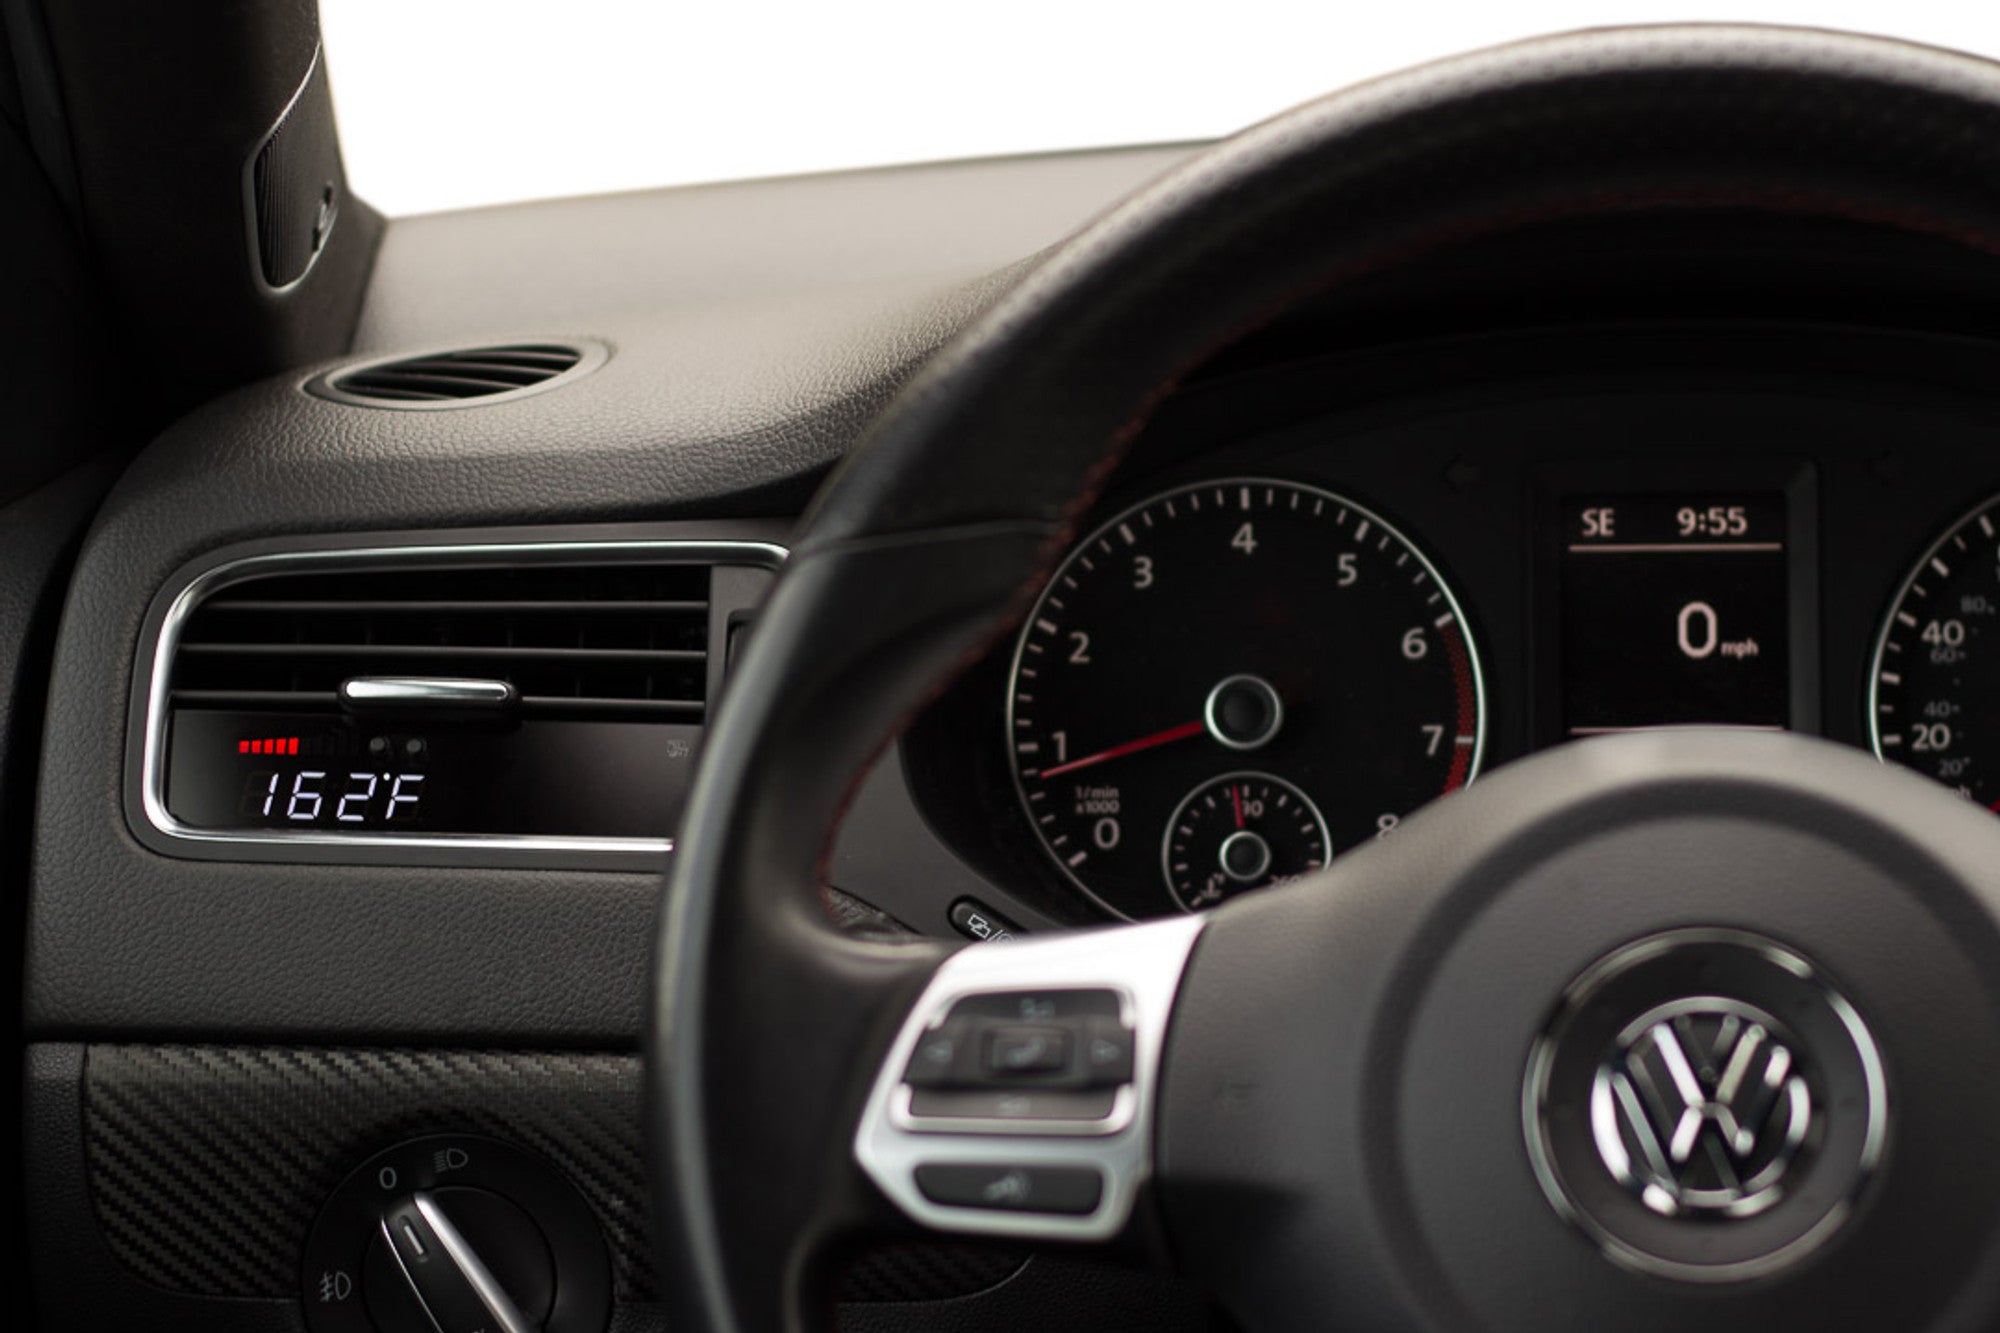
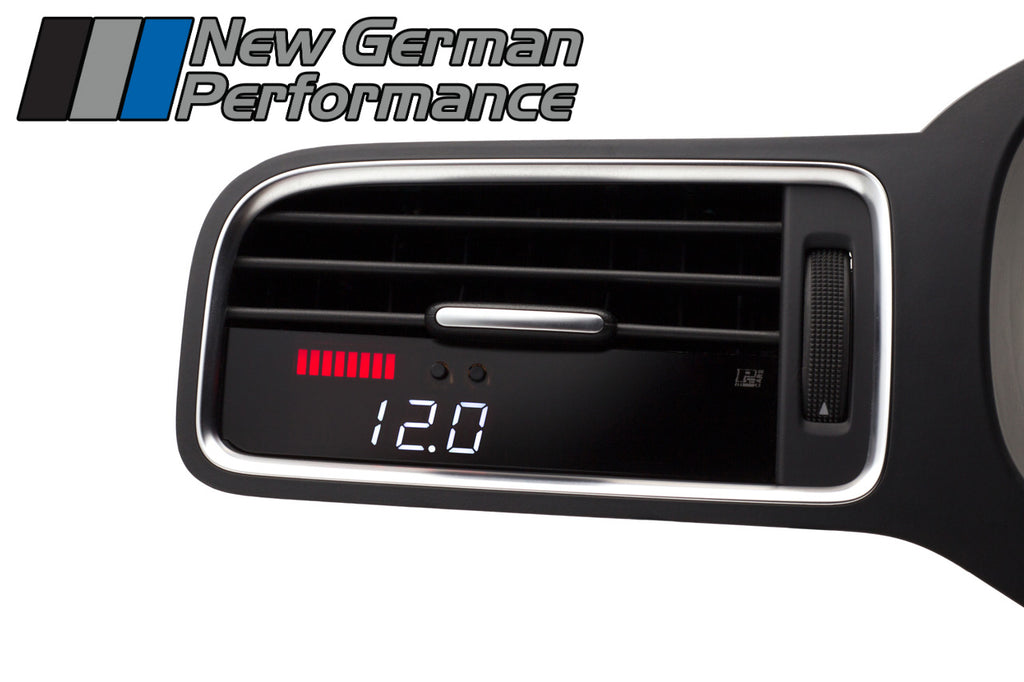
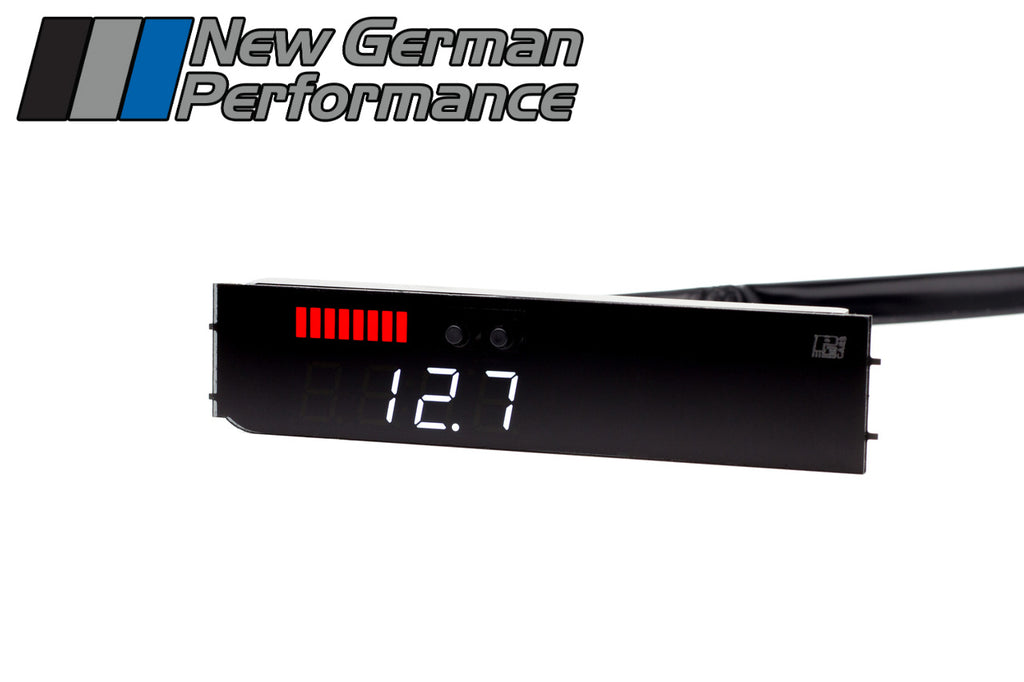
The P3 V3 multi-function digital gauge drops straight into the driver-side air vent of your MK6 Jetta, reading live engine telemetry off the ECU through the OBD2 port. No pillar pods, no drilling, no squinting at a tiny screen — just a bright OEM-matched display that disappears into the dash when it's off.
One display covers boost, engine temps, performance timers and code reading. Colour-matched LEDs mirror the VW cluster illumination, and the display dims automatically with your headlights. Fits all MK6 Jetta trims — S, SE, SEL, GLI, Hybrid, and both TSI and TDI variants.
Key Features
Plug-and-play OBD2 install — hard-wire harness kit available separately if you want to keep the port free
Boost and vacuum shown as a digital readout plus a dynamic perimeter bar graph
Optional P3 analog boost sensor (up to 80 psi) for tuned and big-turbo setups
Read and clear diagnostic trouble codes on the fly, straight from the gauge
Programmable multi-stage shift light built into the display border
Colour-matched LEDs (Red/White or Blue) with auto-dimming tied to headlight activation
Every readout individually configurable in Imperial or Metric
Telemetry & Readouts
Boost & vacuum pressure
Coolant temperature
Air/fuel ratio (AFR or Lambda)
Intake air temperature
Exhaust gas temperature
Throttle angle
Ignition timing
Engine RPM + shift light
Battery voltage
Vehicle speed (calibratable)
0–60 / 0–100 / 60–130 timers
Braking timers (60–0, 100–0)
DTC read & clear
2x universal 0–5V analog inputs
Installation — 7 Steps
1
Open the fuse boxOpen the driver's door and pull the plastic dash access cover off the side of the dash to expose the interior fuse box.
2
Remove the driver's ventPush outward on the lower left corner of the vent, then work a trim tool in from the bottom and pop it free.
3
Route the display cableFeed the P3 harness down through the empty vent opening until it drops into the fuse box cavity below.
4
Fit the P3 vent assemblyPull the slack through, seat the top tabs of the gauge vent into the dash, then press the bottom corners until it clicks home.
5
Connect the control unitPlug the vent assembly cable into the main port on the P3 control box.
6
Stow the box, route the OBD2 leadAttach the OBD2 harness to the control unit, tuck the box and slack inside the fuse box housing, and guide the diagnostic connector out through the bottom crease of the opening.
7
Close up and plug inSnap the fuse box cover back on, plug the OBD2 connector firmly into the diagnostic port under the dash, and peel the protective film off the gauge glass.
Tech tip: keep all excess wiring clear of the pedals and steering column before buttoning things up. If you're running the optional analog boost sensor, route the boost tubing through the firewall grommet before you stow the control module at step 6.
TDI note: 2011–2013 TDI models provide limited data over OBD2 and need the optional analog sensor for boost readings. 2014–2018 TDI reads boost over OBD2 without it.
Fits
| Model | Years | Engine |
|---|---|---|
| Jetta MK6 | 2011–2014 | 2.5L / 1.4T Hybrid / 1.8T Gen 3 |
| Jetta GLI MK6 | 2012–2014 | 2.0T / 2.0T Gen 3 |
| Jetta MK6 Facelift | 2015–2018 | 1.4T / 1.8T Gen 3 / 2.0L |
| Jetta GLI MK6 Facelift | 2015–2018 | 2.0T Gen 3 |
| Jetta TDI MK6 | 2011–2018 | 2.0 TDI |
P3 V3 OBD2 Vent Gauge — VW MK6 Jetta / GLI / TDI
Customer Reviews
Loading reviews…